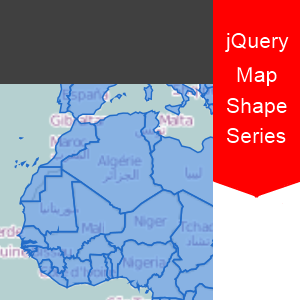
 As a follow-up in the series of blogs , this one will be about the other major type of maps – shape series. While the symbol series are all about individual points or “places” , the shape series are meant to define regions. This means that they are very useful for displaying statistical information such as population density in different areas and country boundaries.
If you’ve read the blog about symbol series , then you will for the most part have an idea on how to set this type of map up and I strongly suggest doing so. The following guide will try to explain what the main differences are between shape series and symbol series , as well as explain how to set this type of map up.
Shapefiles
First of all , you will need to supply yourself with a pair of a shapefile and a database file – those are used together in order to define the shape regions. The database file usually may hold additional information for each of the shapes defined.
The .shp file is what holds the geographic reference – all the polygons are defined in this file.
The .dbf file is , as previously mentioned , an attribute file which holds a table. Columns represent different attributes and rows are an entry , per shape , for each attribute.
You can find a lot of shapefiles on the following address: http://www.statsilk.com/maps/download-free-shapefile-maps , they come in a lot of different flavors depending on the data you’re looking to represent.
Setup
Once you have the files , you can now get into defining the Infragistics jQuery Map widget. Here’s the basic properties you need in order to have a working map:
1: $("#map").igMap({
2: width: "100%",
3: crosshairVisibility: "visible",
4: verticalZoomable: true,
5: horizontalZoomable: true,
6: overviewPlusDetailPaneVisibility: "visible",
7: panModifier: "control",
8: backgroundContent: {
9: type: "openStreet"
10: },
11: series: [{
12: type: "geographicShape",
13: name: "landSeries",
14: markerType: "none",
15: shapeMemberPath: "points",
16: shapefileUri: "path/to/your/shapefile/file.shp",
17: databaseUri: "path/to/your/dbf_file/file.dbf",
18: brush: "rgba(178,0,0,.4)", // darkish red with high transparency
19: outline: "rgba(0,0,0,1)" // black
20: }],
21: windowResponse: "immediate"
22: });
Line 14 , the markerType property is set to none because we won’t actually be displaying any markers. You might remember this is relevant to the symbol series where different series need to have a different marker type so that they could be easily distinguished.
Lines 16 and 17 point to your .shp and .dbf file , respectively.
On lines 18 and 19 , the brush and shape properties describe the color of the fill area and outline of the shapes.
That’s mostly it , if you require a slightly more advanced example – take a look at this one on our official samples page.
You can also download my example by following this link.