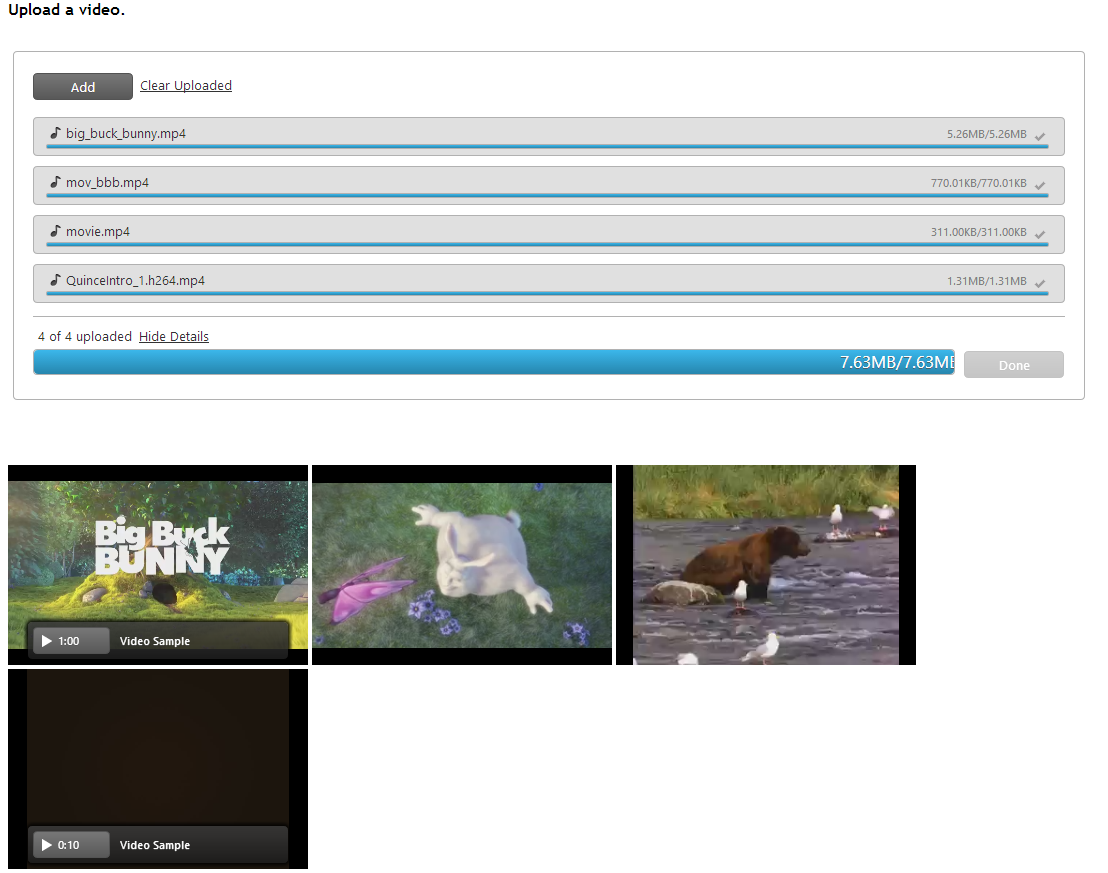
The UI package contains different useful features. In this blog you will see how to create a simple video gallery using File Upload and Video Player Interaction controls similar to that one:

Getting started
This is an ASP.NET MVC project. To get our controls working we need to include Infragistics.Web.Mvc.dll library. To use Ignite UI in your View using Razor just add the following line:
- @using Infragistics.Web.Mvc;
Generally, when we create a MVC projects we don’t need to add jQuery scripts, because they are already included. So the only thing we need to add are the Infragistics scripts after them just like that:
- <linktype="text/css"href="@Url.Content("~/Content/css/themes/infragistics/infragistics.theme.css")"rel="stylesheet"/>
- <linktype="text/css"href="@Url.Content("~/Content/css/structure/infragistics.css")"rel="stylesheet"/>
- <scripttype="text/javascript"src="@Url.Content("~/Scripts/infragistics.core.js")"></script>
- <scripttype="text/javascript"src="@Url.Content("~/Scripts/infragistics.lob.js")"></script>
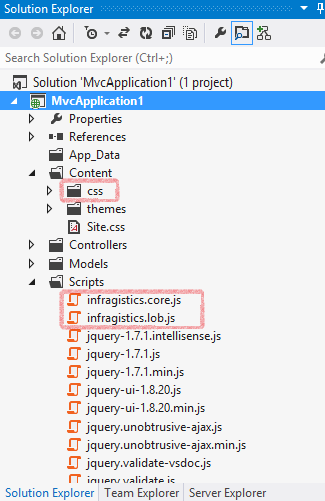
Don’t forget to append the Infragistics CSS folder and scripts to the appropriate folders in your project. These files you can find in the installation folder:

The File Upload
It is easy to use the Ignite UI File Upload, you just have to choose whether you want to upload one file at a time or multiple files and write the suitable code:
Single upload:
- @( Html.Infragistics().Upload()
- .ID("igUpload1").AddClientEvent("fileUploaded","UpHand")
- .AutoStartUpload(true)
- .ProgressUrl("/IGUploadStatusHandler.ashx")
- .Render()
- )

Multiple upload:
- @( Html.Infragistics().Upload()
- .ID("igUpload1").AddClientEvent("fileUploaded","UpHand")
- .Mode(UploadMode.Multiple)
- .MultipleFiles(true)
- .MaxUploadedFiles(5)
- .MaxSimultaneousFilesUploads(2)
- .AutoStartUpload(true)
- .ProgressUrl("/IGUploadStatusHandler.ashx")
- .Render()
- )

We are using MVC project, so it is necessary to ignore the URL of the HTTP handler in the Global.asax file. The following is the configuration for the back-end upload handler:
- publicstaticvoid RegisterRoutes(RouteCollection routes)
- {
- routes.IgnoreRoute("IGUploadStatusHandler.ashx");
- . . .
- }
This is all you need to do when it comes to the client-side. Now let’s see how to configure the server-side: The HTTP Handler and Module. You are going to upload some videos, so you need a place to save them. Create a folder, for example Uploads and then register that folder in the Web.config file like that:
- <appSettings>
- <addkey="fileUploadPath"value="~/Uploads" />
- <addkey="maxFileSizeLimit"value="100000000" />
- . . .
- </appSettings>
As you are uploading videos, make sure that you set the value of the maxFileSizeLimit to appropriate size. To register the modules and the handlers use the following code that take place again in the Web.config file:
- <system.webServer>
- <modulesrunAllManagedModulesForAllRequests="true">
- <addname="IGUploadModule"type="Infragistics.Web.Mvc.UploadModule"
- preCondition="managedHandler" />
- </modules>
- <handlers>
- <addname="IGUploadStatusHandler"path="IGUploadStatusHandler.ashx"verb="*"
- type="Infragistics.Web.Mvc.UploadStatusHandler"preCondition="integratedMode" />
- </handlers>
- <validationvalidateIntegratedModeConfiguration="false" />
- </system.webServer>
And that is it. Now you have a functional and attractive file upload for your gallery. You can find more information about the features of that control and some samples here.
The Video Player
So you want to play the uploaded videos with Ignite UI Video player. To set up the player in Razor ASP.NET MVC View you have to use the following lines:
- @(Html.Infragistics().VideoPlayer()
- .Height("200px")
- .Width("300px")
- .Title("Video Sample")
- .Render()
- )
Of course you need to set the video source. In ASP.NET MVC the Source must be set before Render is called. As you want all of your videos to be played with that player you need to go through all of the files in the uploaded folder and assign them the player. In order to do that you can make a foreach loop like this one:
- @foreach (var item in (ViewData["videoSources"] asstring[]))
- {
- <spanclass="videos">
- @(Html.Infragistics().VideoPlayer()
- .Height("200px")
- .Width("300px")
- .Title("Video Sample")
- .Sources(newList<String> { Url.Content(item) })
- .Render())
- </span>
- }

For convenience that code is in a new View called Video. It is a new View so don’t forget to include the Infragistics.Web.Mvc at the top of the page. In the HomeController.cs you need to set the video source:
- publicActionResult Index()
- {
- /* Getting the path of the uploaded video files. */
- string[] paths = System.IO.Directory.GetFiles(Server.MapPath("~/Uploads"));
- for(int i = 0; i < paths.Length; i++)
- {
- paths[i] = "~/Uploads/" + System.IO.Path.GetFileName(paths[i]);
- }
- ViewData["videoSources"] = paths;
- return View();
- }
So this is how to play your videos with Ignite UI Video Player. More information about the features as well as some samples of the player you can find here.
The Gallery
Simple or not one gallery can be called good only if it works properly. Nobody likes if the whole page reloads every time a video is uploaded, that is why you want only the newly uploaded video to appear. In order to do so, you can use the fileUploaded event (more about the file upload events you can find in the documentation about that control) and some jQuery to do the magic for you.
- <script>
- function UpHand(evt,ui) {
- $.ajax({
- url: "@Url.Action("Video","Home")",
- data: {clip: ui.filePath}
- }).done(function (data) {
- if ($("#Video").children().length > 0) {
- $("#Video").append(data.replace(/VideoPlayer1/g, ("VideoPlayer" + $("#Video").children().length +1)));
- }
- else{
- $("#Video").append(data);
- }
- });
- };
- </script>
This code helps you to force only the newly uploaded videos to appear. When we upload videos they may be assign with the same id, then when we try to upload a new video it will appear in the place of the previous one. Here comes the following line:
- if ($("#Video").children().length > 0) {
- $("#Video").append(data.replace(/VideoPlayer1/g, ("VideoPlayer" + $("#Video").children().length +1)));
- }
- else{
- $("#Video").append(data);
- }
If there are Videos with the same id we change it, otherwise we just append it to the previous one.
There is one last thing that have to be done before our gallery becomes usable. You have to set the controller for the Video View. The following code take place in the HomeController.cs file.
- publicPartialViewResult Video(string clip)
- {
- string[] paths = newstring[1] ;
- if (System.IO.File.Exists(Server.MapPath("~/Uploads/") + clip))
- {
- paths[0] = "~/Uploads/" + clip;
- }
- ViewData["videoSources"] = paths;
- return PartialView();
- }
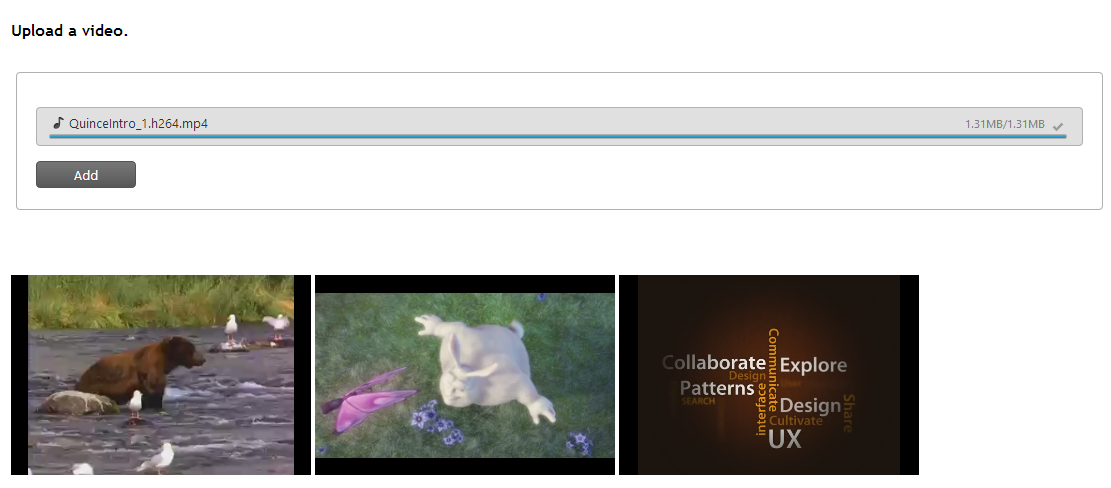
So using the above mentioned source you will be able to create a simple video gallery like that:

You can download the sample code from here.
You can follow us on Twitter @Infragistics and stay in touch on Facebook, Google+ and LinkedIn!