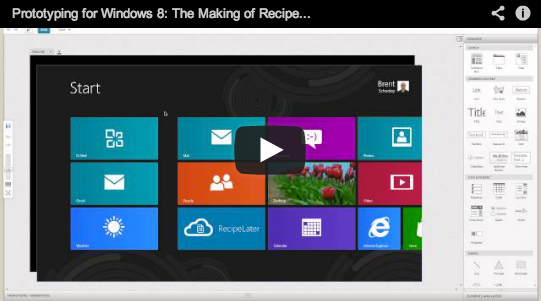
In this tutorial I will show you how to create the Start and Splash screens for the RecipeLater Windows 8 sample in Indigo Studio. I have provided both a screencast (in up to 1080p HD quality) as well as a step-by-step set of instructions with screenshots. Pick the path that works best for you. Both contain the same information. Future tutorials will show how to build the rest of the screens for the prototype.
Screencast
Make sure to set the quality to 1080p!
Creating the Start Screen
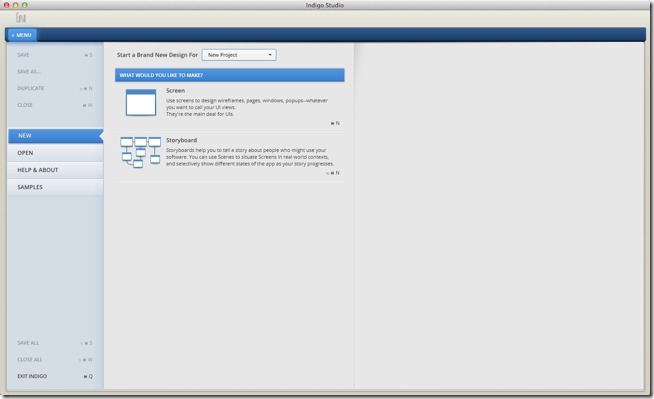
Start by creating a new Screen in Indigo Studio. Make sure the “Start a Brand New Design For” dropdown is set to “New Project”:
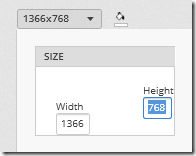
Next, you will need to configure the screen size and background color. Select the “Custom” size option and input 1366 for the width and 768 for the height:
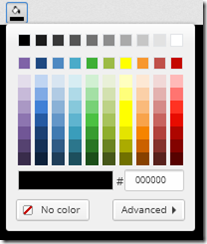
Set the background color to black:
Add an Image to the screen either by dragging it in from the Toolbox or alt/option click on the screen and type “Image” in the quick add box:
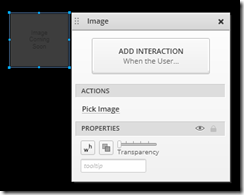
Click on “Pick Image” and select the “windows8home.png” file that was in the zip file you downloaded above. Center the image in the screen and your screen should look like this:
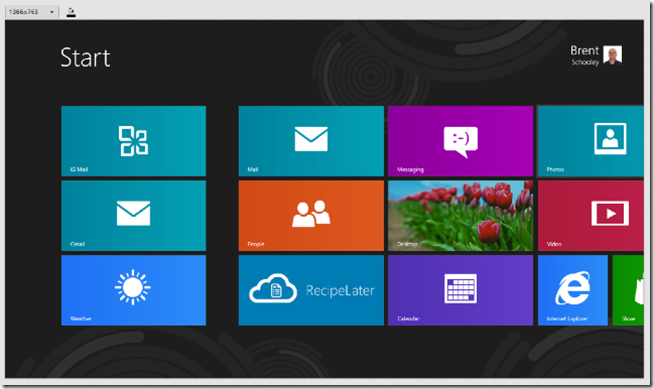
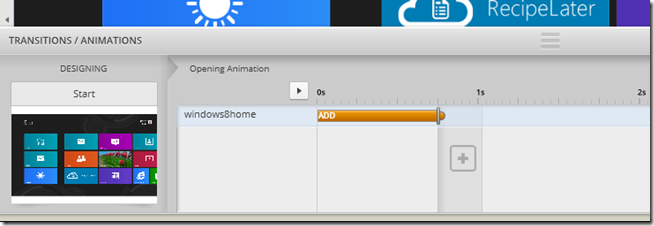
At this point if you run your prototype, the screen will look right for the Start screen but it is missing the fade in animation that the sample has. Let’s add that to the prototype. At the bottom of the screen click on the Transitions/Animations panel to bring it up and then click on "Add an Opening Animation”. Delete the second animation segment that is added to the the opening animation by default. We won’t need it in our animation. The top row of this panel represents the Image we added. Drag the “Add” timeline entry out to 0.75s to create the fade-in animation. If you have done this correctly, the animation panel should look like this:
Test your prototype at this point by clicking the “Run” button in the top left of the screen.
At this point, it’s time to add the hot spot to the RecipeLater tile. This hot spot will allow the user to tap or click on the RecipeLater tile to “launch” the RecipeLater application within the prototype. Alt/Option-drag over the RecipeLater tile and type hot spot in the quick add box. The result should look like this:
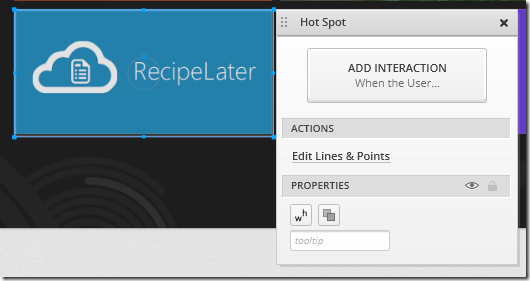
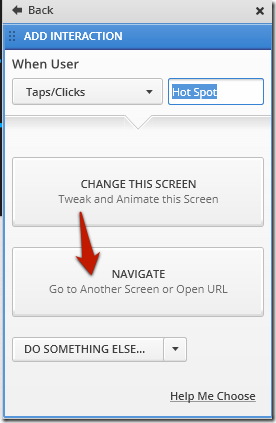
We want the prototype to navigate to a new screen when it is tapped or clicked, so click the “Add Interaction” button. On the next dialog, click “Navigate” as shown and then on the next dialog click on “Screen in Project” since we want to create a new screen for our splash screen:
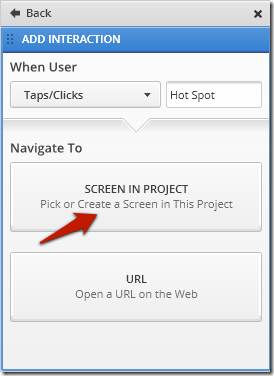
The next popup will give you a choice to either select an existing screen or create a new screen. Type “Splash Screen” into the text box at the bottom and click the “Create” button:

This will create a new screen called “Splash Screen” in your project. It also hooks up the interaction for clicking on the hot spot. You can test this now by running the prototype. Clicking the RecipeLater tile should navigate to a blank white screen. Now we’ll configure the Splash Screen so that it behaves the way it does in the original prototype.
Setting up the Splash Screen
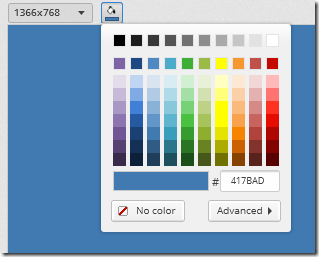
Set up the screen resolution and color like you did for the Start screen. This time, instead of choosing black for the background you should set the background to #417BAD which is one of the blue colors in the palette.
Add a Title to the screen and set its text to “RecipeLater”. Set the text color to white and the font size to 48 as shown below:
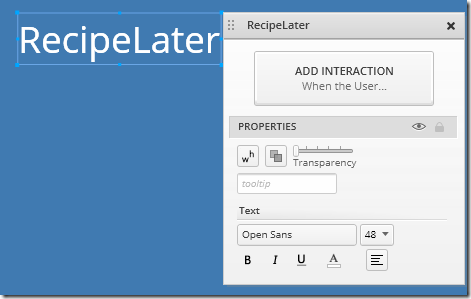
Position the label in the middle of the screen vertically and just to the right of center.
Next add an icon and change its color to white. Select “Pick icon” and type “cloud” into the search box to find the cloud as shown below:
![]()
Resize the cloud to be just slightly larger than the “RecipeLater” title and position it directly to the left of the title.
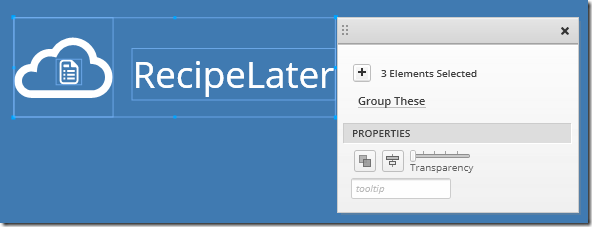
Now, add another icon and set its color to white. Pick the “text” icon. Position the text icon inside of the cloud icon. When you have everything positioned, drag-select all three objects and click “Group These” as shown below. This will allow us to animate them all together when the screen loads.
Open up the “Transitions/Animations” panel at the bottom of the screen and configure the opening animation as you did for the Start screen. Set the “Add” duration for the group to be 2.0s as shown:

At this point, your Start and Splash screens are done. Go ahead and test your prototype.
Summary
In this post, I’ve shown you how to set up the first two screens of the RecipeLater prototype. While these screens are admittedly very simple, they do serve as a good starting point for familiarizing yourself with Indigo Studio. In future parts of the series we’ll look at some more complicated screen construction and animation but hopefully now you feel comfortable getting basic stuff accomplished in Indigo Studio.
Contact
If you have any questions or comments, please comment below or find me on Twitter @brentschooley. You can also email me at bschooley@infragistics.com.
