Every great application begins with a thoroughly thought out application design. With its heavy design focus, the Windows 8 platform demands more at the design stage than many developers may be accustomed to. One of the best ways to flesh out and try your design before building the app is prototyping. Indigo Studio makes it quick and easy to create functional, animated prototypes for your application design. Although Indigo Studio does not currently have controls that are specific to Windows 8, it is still a fantastic tool for creating Windows 8 prototypes. I created a Windows 8 prototype called RecipeLater that ships as a sample with Indigo Studio. Over the next few posts, I’d like to show you how I made it. This post serves as a preview for the rest of the series.
It all starts with a story…![story story]()
Usually an application idea starts with a story. It doesn’t have to be anything fancy, just something that describes what the application will help a user accomplish. If it’s helpful, the story should also include the type of environments the users will be using the application in. Make sure to capture just enough detail to adequately cover the workflow the user will perform in the application and the goals they will accomplish at each stage.
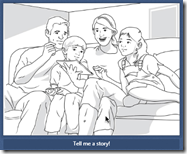
One helpful tool for capturing this story is a storyboard. A storyboard will help you map out usage scenarios in your application and explain the flow of typical use visually. Indigo Studio comes with fantastic storyboarding support and allows you to quickly capture your application’s story in a way that’s easy to follow. You can drag out scenes (these are illustrations like the one over on the right) that capture real-world environments where your application might be used. Double-clicking on a scene will create a new screen in the prototype or you can drag an existing screen onto a scene and the screen will auto-fit onto whatever device is in the scene. You can also create a story element by dragging an existing screen onto the storyboard. It’s a quick and easy way to completely capture the story for your design.
Let’s take a look at the storyboard for RecipeLater:
As you can see, there are only two items in the story for this prototype. First, Mary (adequately described in the description) is going to use a web browser to save a recipe. Then, she’s going to pull up that recipe later on her Windows 8 tablet using RecipeLater. From this storyboard, either screen can be run to see the prototype behavior in context with the story information.
A preview…
In case you haven’t seen the RecipeLater sample yet, click here to run the prototype in your browser: http://bit.ly/recipelater
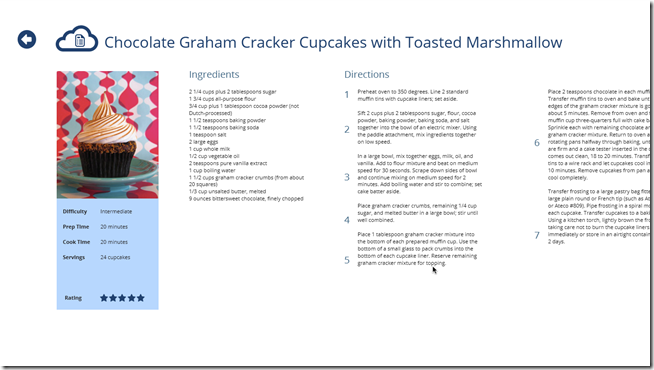
The prototype screens that will be built during this tutorial series are: the Start screen launch experience including splash screen transition, the main GridView page with entrance transition, and the recipe view itself. Here’s a look at the recipe view screen for the application:
Feel free to explore the rest of the prototype from the link above.
Summary
Indigo Studio is a great tool for building Windows 8 prototypes. It provides excellent storyboarding capabilities which will help make sure you are designing the right things. Then, the screen prototyping tools available will help you make the right design. Over the next few posts, I’ll show you how to make that happen as we build RecipeLater from the ground up.
Contact
If you have any questions or comments, please comment below or find me on Twitter @brentschooley. You can also email me at bschooley@infragistics.com.


